Page Contents
On a daily basis, 500 million users exploit Instagram stories. This enormous popularity is due to the fact that creative IG stories can help you foster a friendly relationship with users and attract a target audience. And those who have succeeded in growing their brands on IG can vouch for the immense power of this tool. Now, among the many features IG story offers, the Instagram AR filter is in vogue.
The AR filter on Instagram stories allows social media influencers and users to have fun while engaging with the target audience. However, since many users don’t know how to make an Instagram filter or where to find them, they present a unique opportunity for you to stand out.
That’s why we have dedicated a thorough article to this topic. Here, you will find all the information you need about the Instagram AR filter and how you can create one!
Now, let’s get down to business, shall we?!
What Is an Instagram AR Filter?
Augmented Reality filter is a computer-generated effect that is designed to be superimposed on real-world images. You have for sure tried out some of the filters that can change your background or beautify your pictures. So, these are Instagram AR filters that you can apply to your stories.
You can find various filters on Instagram stories, and you can design a filter (AR filter) for your Instagram to build your brand. In the following sections, we will go through how you can try out these filters, what the trending filters are, and how you can design an Instagram AR filter for yourself.
How to Try Out IG Story Filters
If the idea of creating your own Instagram AR filter doesn’t appeal to you, you can try out different story filters on your images. This can be a fun way for you to boost your online business and get more IG followers. But where can you find the filters? How can you figure out which ones are trending? No worries; just sit back and read on.
To apply filters to your images and videos, all you need to do is follow these steps:
- Open Instagram stories.
- Next, choose ‘Camera’.
- Tap on the magnifier icon next to the capture button.
- Here, the ‘Effect Gallery’ will pop up where you can see and search for different filters.
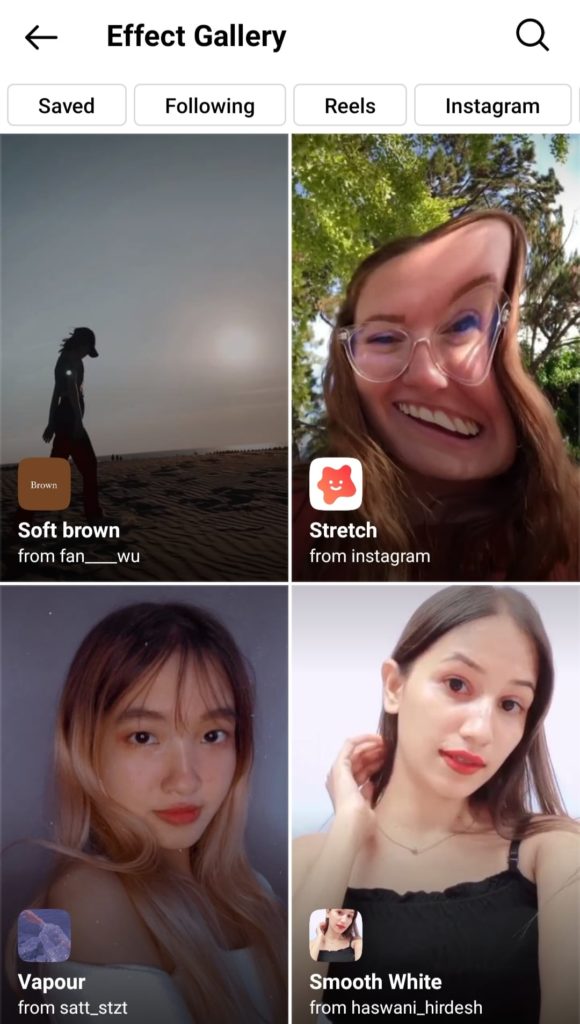
- Once you have chosen a filter, tap on it.
- On the bottom left corner, you get a ‘Try It’ button and on the bottom right corner, you have the features allowing you to send it to your friends, or save it for later.
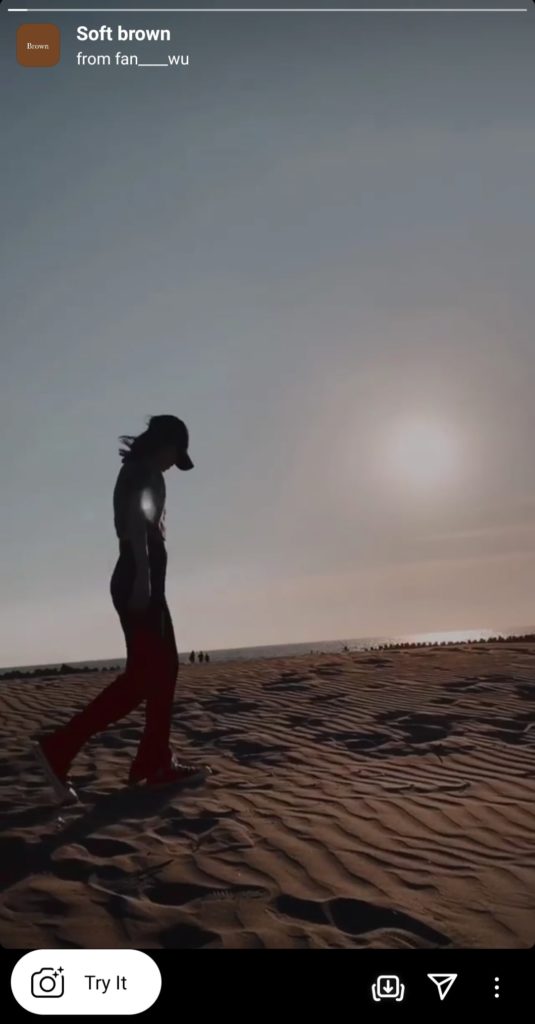
- If you choose ‘Try It,’ the camera will instantly open and you can shoot your picture or video and share it with your friends.
If it’s not good enough, you can discard it or edit your story after publishing.
Bear in mind that using the best IG story ideas can have a direct impact on increasing your engagement rate on Instagram. So, use these filters and get creative with them. There’s no telling how many individuals you can inspire!
What Are the Best Story Filters to Use?
Frankly, no one can tell what the best filters are. That is, choosing what filter works best depends on you and your content. However, we would like to briefly mention five trendy, appealing filters you could use. The final decision, however, is on you. Try them out to see how they look; this is the fun part!
- Pink Preset 2: This filter is widely popular among influencers and users. In case you’d like to give your images and videos a subtle, pink glow, go ahead and give it a shot!
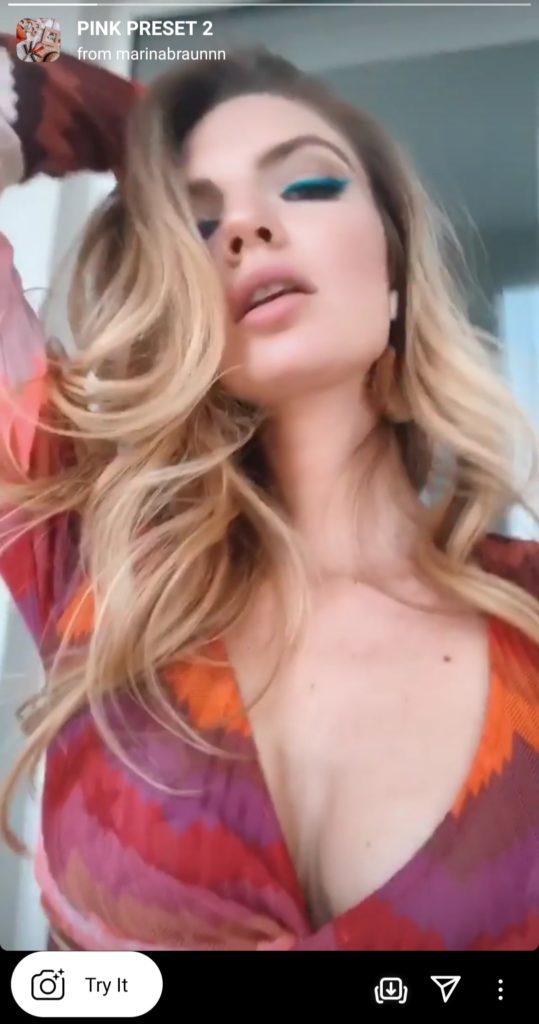
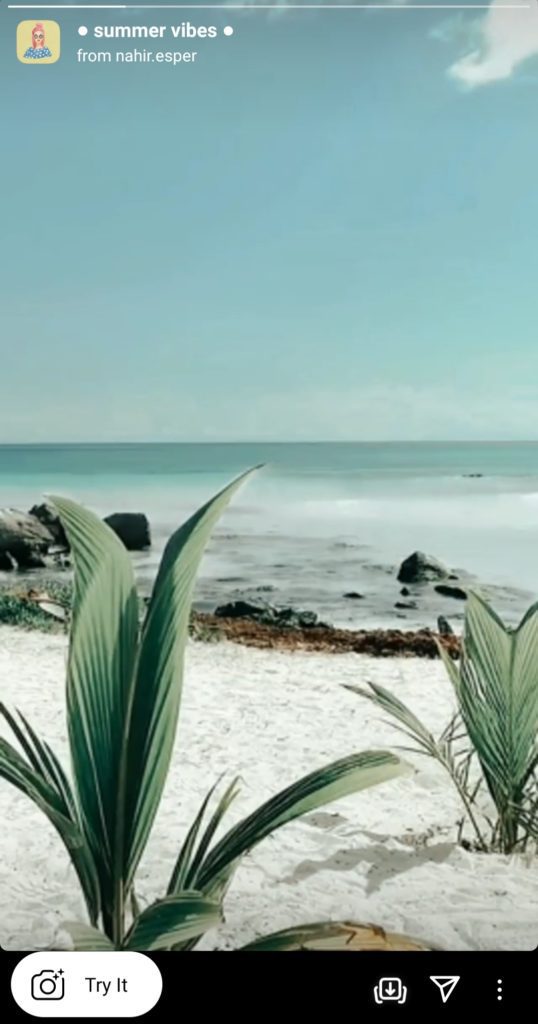
- Summer Vibes: Summer Vibes provides three filters to choose from, all of which will give a bright look to your content.
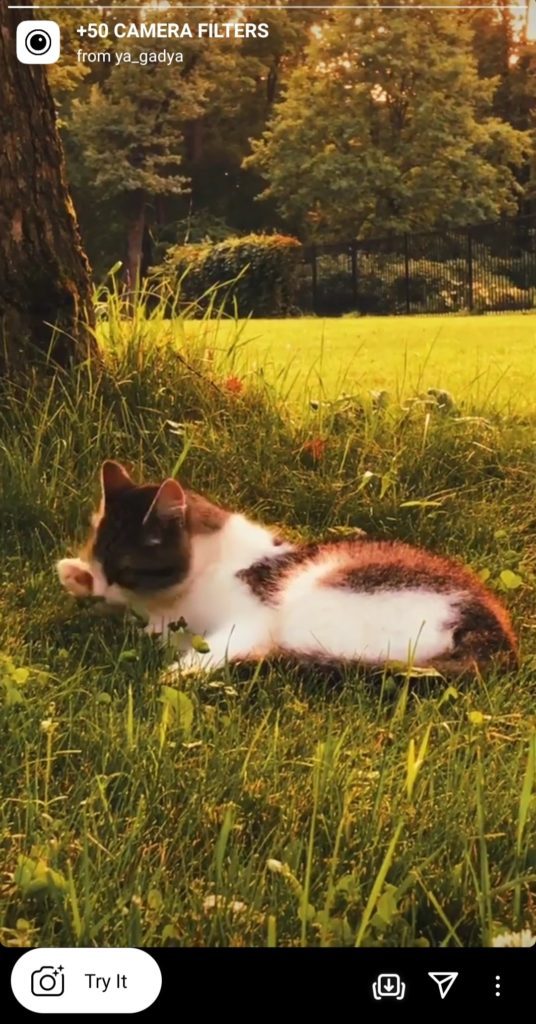
- +50 Camera Filters: @ya-gadya has released this filters pack to provide users with diverse filters to choose from. No matter what your content is or how picky you are, you will for sure find a filter that suits your needs.
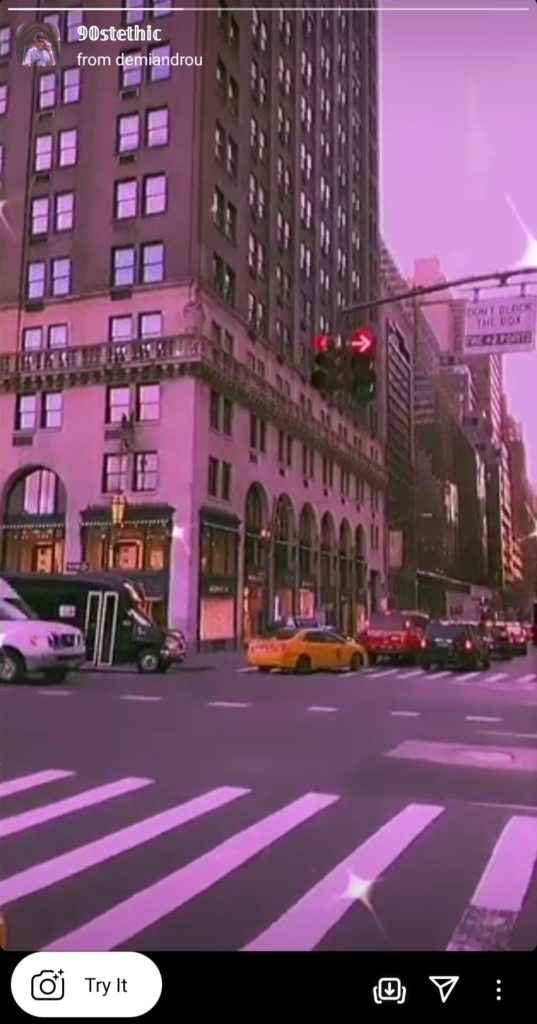
- 90Stethic: If you aim to grab your followers’ attention for a few seconds, you can go for the sparkly 90Stethic filter.
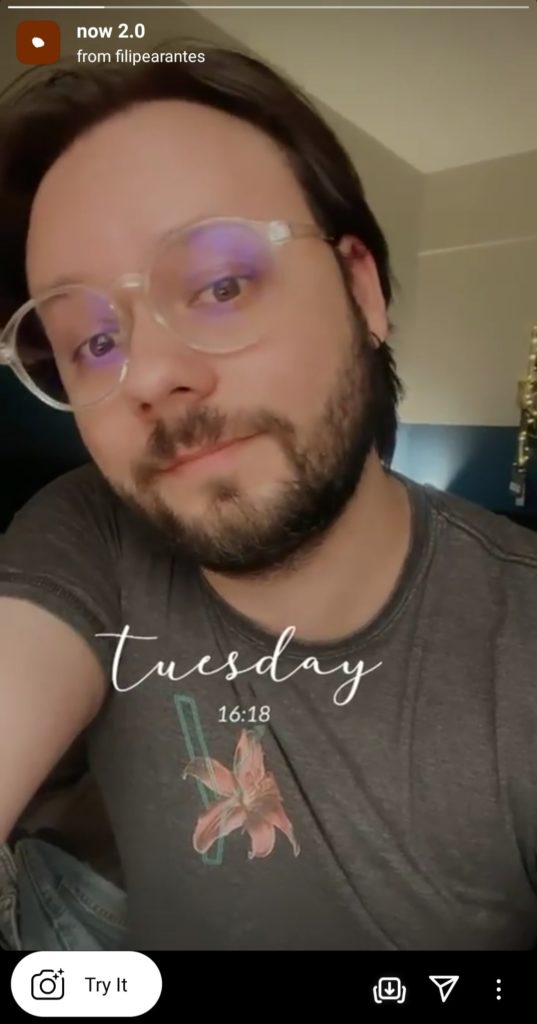
- Now 2.0: This is a classic, all-time favorite filter with Instagrammers. This filter is simple and displays the day of the week and the time on the screen. If you’re looking for something simple, you can opt for Now 2.0.
By the way, you can check out filters created by a specific individual or brand on their profile page. The filters are available under the 3rd tab on their profile.
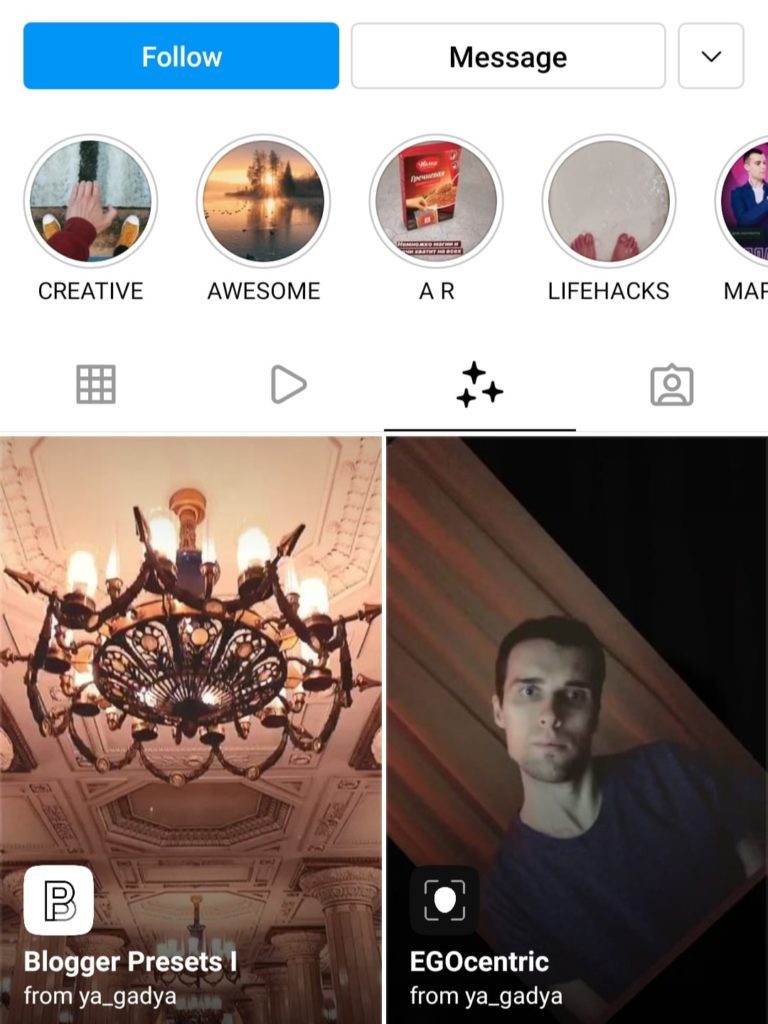
If one of them looks appealing, you can tap on it, try it, and share it on your story.
Why Should I Learn How to Make an Instagram AR Filter?
Considering the growing number of AR filters available on the platform, is there a need to create one? The best answer we can come up with is that you don’t necessarily need to make one. However, it would be an excellent strategy to boost your Instagram results.
Countless thriving brands and influencers come up with their own Instagram AR filter designs. Do you know why they bother? Because the published filters appear on Instagram’s ‘Effect Gallery.’ Therefore, the filters enable them to reach an audience and get fast and free IG followers. Plus, this means that they can conveniently turn IG followers into customers!
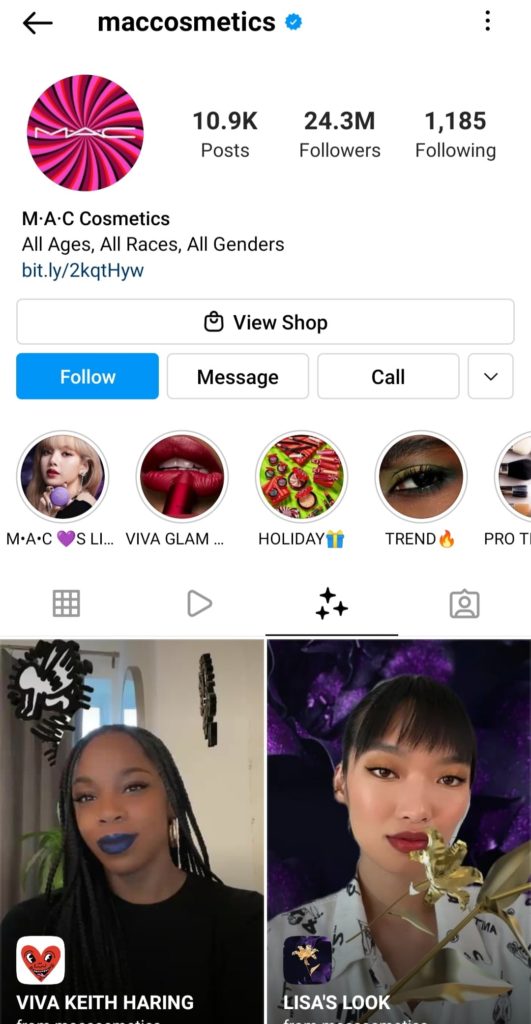
For instance, MAC cosmetics company has designed AR filters that allow users to try out their products. That is, you can virtually try out different shades of shadow or lipstick to see which suits you. First off, this strategy helps the company make more sales. And secondly, it is a convenient tool to help the customers make their choice. Besides, the more people use their filters and share them, the more followers and potential customers MAC could get.
Now that you come to think about it, it is a brilliant idea. Right?
How to Design an Instagram AR Filter?
Creating an Instagram AR filter does sound like a complicated process and it did use to be. However, Facebook has devised a platform for all the users who would like to create IG filters.
How to Make AR Filter with Spark AR Studio
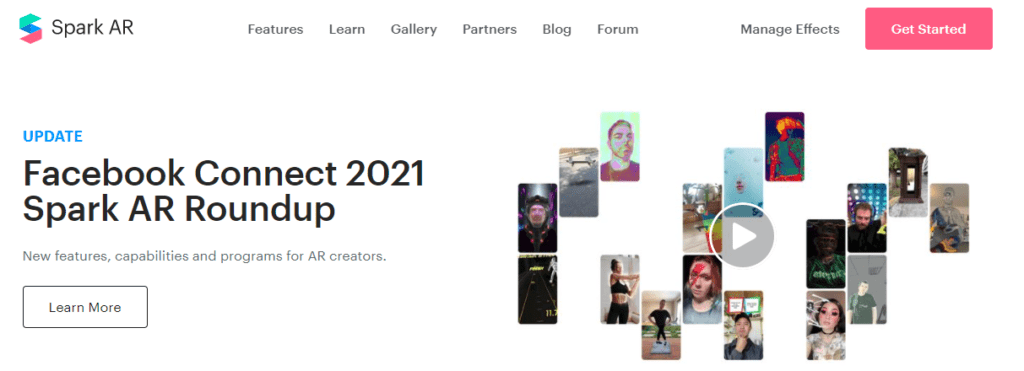
Facebook first launched Spark AR studio in 2017. Yet, it was in 2019 that Facebook finally announced everyone could use the platform to create an Instagram AR filter. This platform is currently compatible with Windows and Mac operating systems and allows users to conveniently design custom filters and effects.
Now, let’s answer the question ‘How to make an Instagram filter with Spark AR Studio.’ we are going to address this question by walking you through the process of designing a World Object AR filter. Bear with us and follow these steps to successfully create an Instagram AR filter.
Step 1- Download Spark AR Studio to your PC
As mentioned before, Spark AR studio allows you to create custom filters and effects. But, it goes further than this! Spark AR also provides insights to show you if your filter is performing well. You can download Spark AR Studio here by clicking on the Download button.
Step 2- Choose the Template
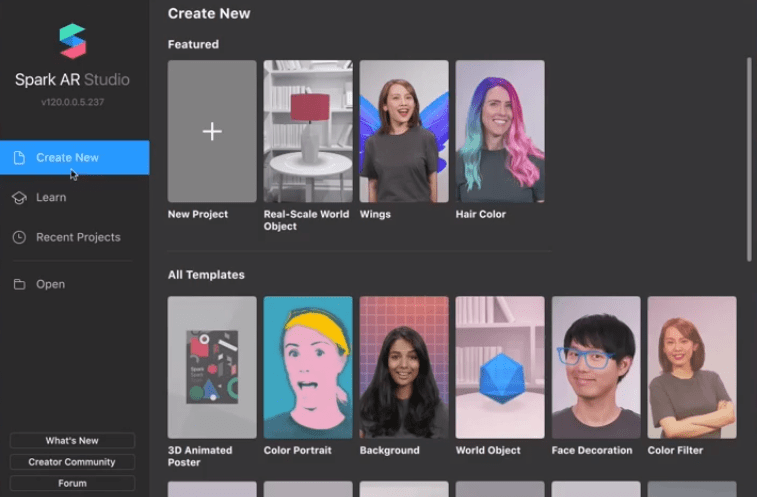
After you run the program, the platform will offer a complete tour to help you start your experience. Then, you get to choose a template from the 8 templates available, or you can start with a blank project. For our purpose, we choose the ‘world object’ and also recommend that you start with one of those templates.
Step 3- Get to Know the Different Panels
After picking a template, a new page will open. Here, you can see the Viewport, the Scene panel, and the Inspector panel.
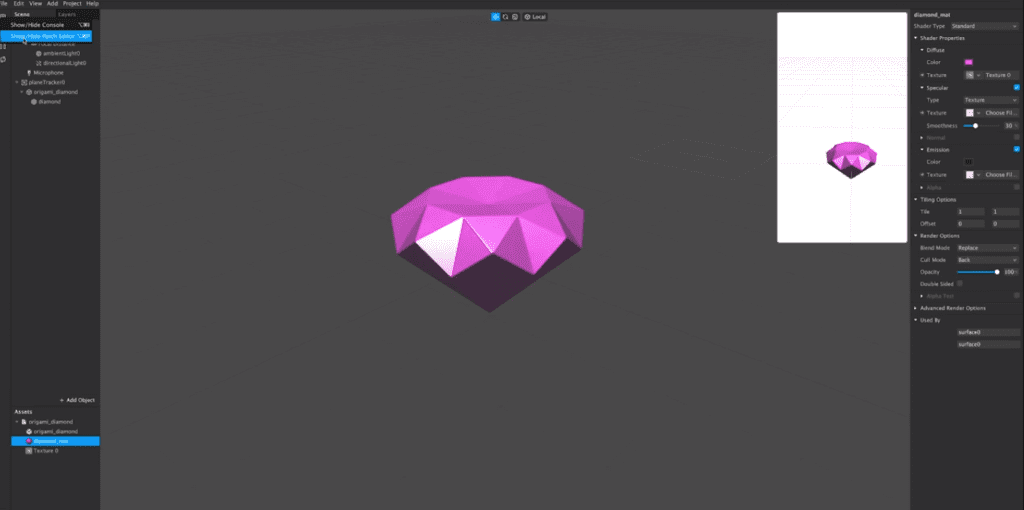
The viewport is the central panel where you will design your new filter. On the viewport, you also get a stimulator where you can preview how your filter looks. The stimulator is an iPhone 8 by default, but you can also change it to another device.
In the left section, you get the scene panel. This panel will provide features and options to help you compliment your Instagram AR filter.
On the far right of the screen, the inspector panel is visible. This panel enables you to change the properties of elements. That is, you get to edit rotation, texture, position, and color using the options here.
Step 4- Pick a 3D Asset
The Spark AR Studio also provides the users with an AR library that offers 3D assets, animations, and audio files. You can conveniently choose a 3D asset here, or import your own.
Step 5- Edit and Compliment the Object
Exploit the diverse options and features to edit the behavior of the object. As mentioned earlier, the panels allow you to change the object’s rotation, color, and more.
Step 6- Try Your Filter Out
At this point, click on the ‘Test on device’ button. Spark AR Studio will send a test file to Spark AR Player on your phone or your IG camera where you can display it.
Step 7- Upload
Once you’re done with the edit and testing the filter, use the upload button. Now, you can sit back and wait for your design to be approved. This process can take up to a week as they check if your filter doesn’t negate their guidelines.
Once it is approved, you can use your filter on Instagram and enjoy Instagram fame!
We will not delve any deeper into the question of how to make an Instagram AR filter with this application. That is because the Spark AR Studio team has already published articles and several tutorials to facilitate your learning. So, for more information, go ahead and check their tutorials.
How to Make AR Filter without Spark AR Studio
Many users don’t have access to a compatible device and can’t use Spark AR Studio. Does that mean that they can’t create their own filters? The answer is of course they can. Even those who can’t access the platform can use other tools to meet their goals.
Creating Instagram AR filters with the following method might be a confusing process. But well, no pain no gain! Especially if the gain is successful social media marketing, the pain is worth it for sure.
Let’s get started then!
Step 1- Download Picsart
The first thing you need to do is to download and open Picsart and follow these instructions:
- Once you open the app, tap on the ‘+’ icon in the bottom center.
- At this point, choose the first kind of background (no background) for your new file.
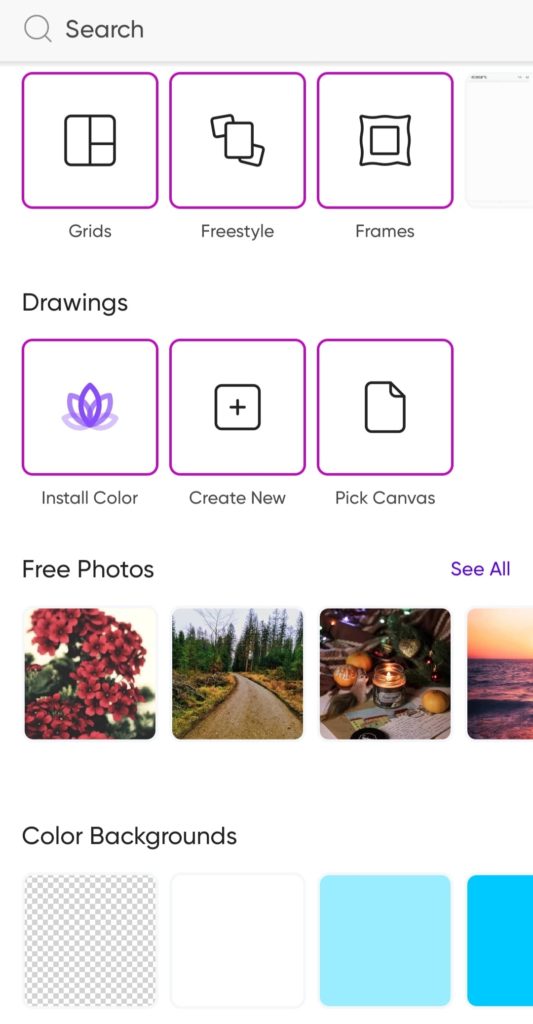
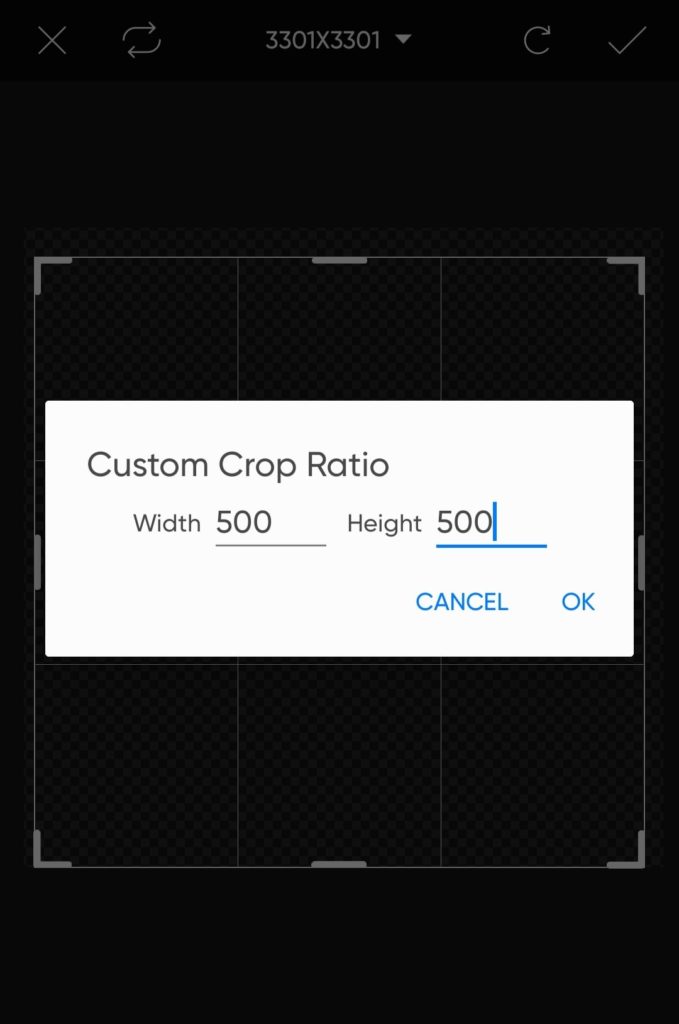
- Then, crop into a 500 × 500-pixel ratio.
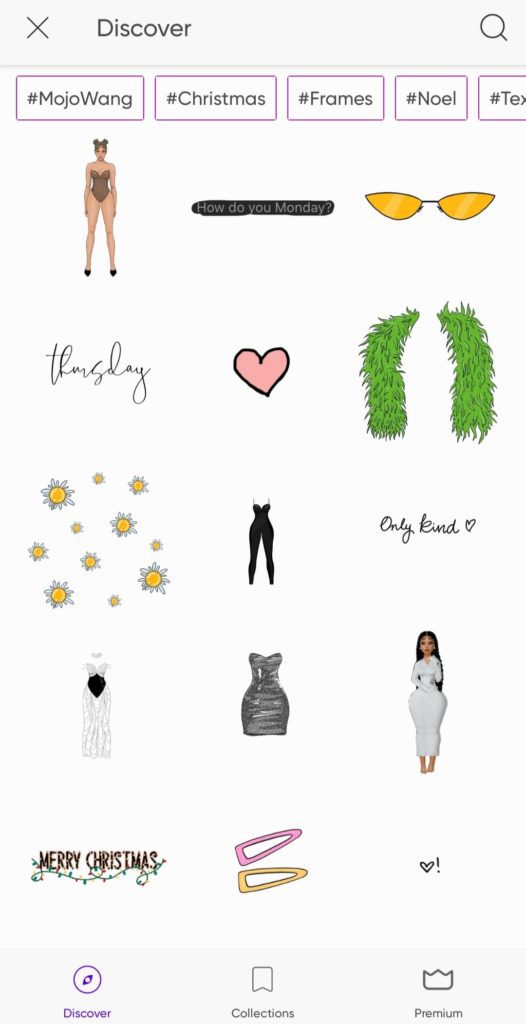
- Now select the sticker you’d like to have in your filter.
- Finally, save this file.
Step 2- Open Effects Maker
This is the platform that will enable you to create a design. So open the Effects Maker website and follow the steps:
- First, choose a template.
- Remove unwanted stickers.
- Now, you get to replace those stickers with the ones you had previously created on Picsart.
- Once you have successfully selected and uploaded your file, change the view mode to ‘desktop site.’
- At last, download the file.
Step 2- Enter Sparks AR Hub
Sparks AR Hub allows you to submit a filter online through the website. So, open it and take the following steps:
- Open the platform and click on the ‘Manage Effects’ button in the top right corner.
- Then, click on ‘Publish an Effect.’
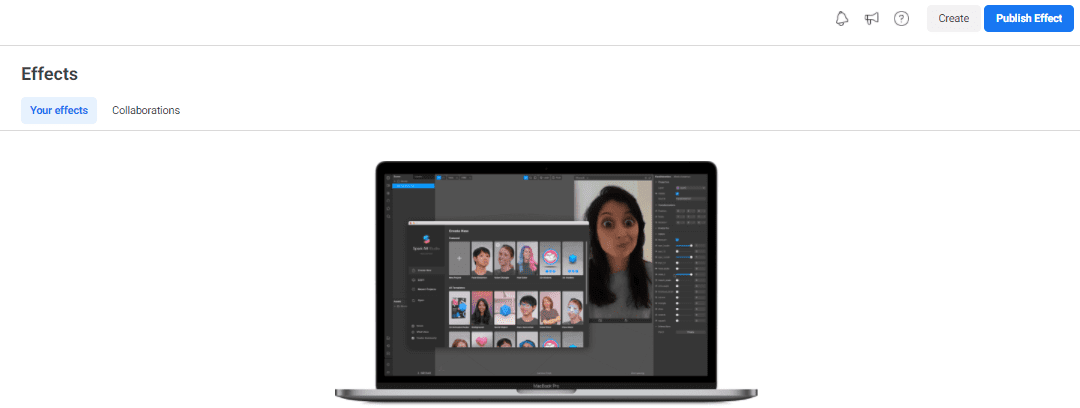
- Choose the platform you would like to publish it on and upload the effect you had saved on Effects Maker.
- At this point, choose a name and fill out the required information.
- Click on ‘Save.’
- Now, in the ‘Media’ section, choose ‘open in Instagram.’ They will send a file to your Instagram camera on your phone. Open it and record a view.
- Then, go back to the same platform and upload the video.
- At last, scroll down and click on ‘Submit.’
You have to wait for an amount of them for your filter to be approved. But this is it! You have successfully managed to create an Instagram AR filter. However, bear in mind that if you want to edit professionally or design an excellent filter, you will need the Spark AR Studio features.
Last Words
Creating an Instagram AR filter presents the perfect opportunity for you to outwit Instagram’s algorithm and double your IG engagement rate. Therefore, if you know how to make an Instagram AR filter, you can sell for any business on Instagram. However, as sweet as the prospect seems, it is also challenging. In this article, we hoped to answer all your possible questions regarding Instagram AR filters. If you come across more questions about this topic, leave a comment and put forward your questions.
By the way, make sure to read more of our informative articles below:

